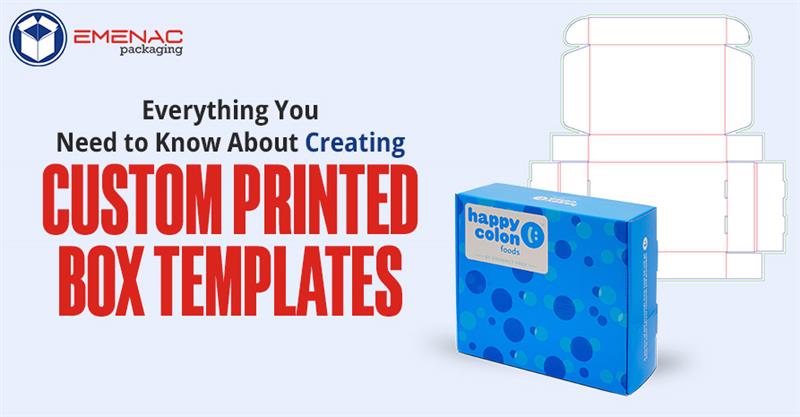
Everything You Need to Know About Creating Custom Printed Box Templates

Choosing the right custom printed box templates are essential to pack product that snugly fits inside the box. If it doesn’t happen, it is quite difficult to find the right size and shape easily and doing so help you save time and reduce shipping costs.
To get perfectly sized boxes, you must make a proper box template from scratch. But the question is how to make a box template? This blog post is related to creating custom packaging box templates for efficient storage and shipping purposes.
What are Custom Printed Box Templates?
Custom box template is basically a pattern or design that helps to create a right sized packaging box. With the help of a template, it’s easy for you to know exactly where to fold or cut box to get right dimensions and a perfect appearance.
There are various types of templates for multiple boxes. Templates vary for organising items, shipping products and making gift boxes. When you create a box with the help of template, you would save your time, energy and cost.
Steps to Make a Proper Box Template
Step 1: Measurement of Dimensions
First, you have to measure the size of your box by keeping the dimensions of product in mind. Add approximately one inch to each of the product sizes of the box you are creating.
Step 2: Template Filling
When you freed from measuring dimensions, fill in all blank boxes on your template with the sizes you need. Add the correct numbers to figure out the length and width of a cardboard sheet you are using. Then, adjust length and width accordingly.
Step 3: Cutting of a Sheet Pattern
Cut the cardboard sheet to the required length and width with the help of scissor. Then, with the help of tape measure, recreate lines and dimensions using the drawing. Fold the dotted lines and cut solid lines.
Step 4: Fold the Box Edges
To create box edges, turn the very straight edge of the cardboard sheet into the fold edge to create box edges. In start, your folding may get a little crooked, which you can easily straighten as you go. Fold the flap completely and flatten fold again to bend very next one.
Step 5: Use of Glue for Joining Box Edges
To join box edges, use a hot-gun glue. While joining, make sure that the first glue joint shape with 90-degree edge. Afterward, glue all ends of a box with two sides together. Do not forget to load the product from another end.
How Many Template Styles Are?
Box templates come in different styles and each style is designed for specific product packaging needs. These can be customised in various ways to fit snugly inside the box as per product’s shape, size and nature. Here are some famous styles:
- Lid Box Template
- Handle Box Template
- Auto Bottom Tray Template
- Handle Dieline Box Template
- Bookend Template
You can use any one style of them according to your product’s packaging needs.
Final Thoughts!
Creating printed custom box templates is more than just designing packaging, it’s about building a brand identity that connects with customers. A well-structured template ensures consistency, saves time, and provides flexibility for future purchases.
By focusing on accurate dimensions, high-quality graphics, and durable materials, businesses can enhance both presentation and functionality. Investing in professional design or using advanced tools also guarantees error-free production.
Ultimately, custom templates empower brands to stand out in a competitive market, deliver memorable unboxing experiences, and reinforce their value through packaging that speaks louder than words.
 Apparel Boxes
 Bakery Boxes
 Cosmetics Boxes
 Medicine Boxes
 Retail Boxes